ATR Leveling System – 10mm Hexagon Socket – ATR10MMSOCKET
ATR Leveling System – 10mm Hexagon Socket – ATR10MMSOCKET
10mm double hexagon metric socket
1 free socket are included with any order of kits or Spindle, the are provide 1 per customer
For the advanced professional a simple socket and cordless drill may be used to remove and install spindles.
How to Use
1. We recommend using a cordless drill with voltage no greater than 10.8 volts and its clutch mechanism set to low to prevent any over tightening or potential stripping of thread on your spacing plate.
2. We recommend testing your clutch by tightening a spindle that is attached to a spacing plate and has been placed in between a couple of tiles with no adhesive. Adjust the clutch mechanism of the drill accordingly.
Advantages of the ATR Tile Leveling
No Tools (GUN) needed! No need for expensive hand tools.
Simple and quick to lay with only 2 elements: Spacer & Spindle.
The only system that removed without the use of a force
Only System that leave clean grout line (no risk of spacers not break all the way)
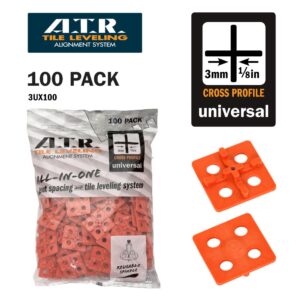
Cross Spacers (+) Shape allow for 2/3 of saving
Creates a lippage free surface
Keeps tiles in place while drying
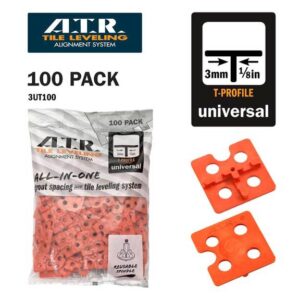
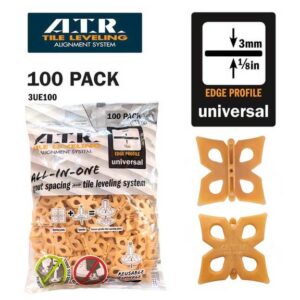
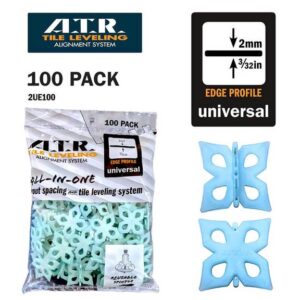
All-in-one grout spacing and tile alignment system
Stress free installation
Professional finishes every time
Very simple and easy to use
Saves time
Suitable for floors and walls
Suitable for indoor and outdoor uses
Re-usable spindle
Australian design and Australian made
How to use 3 Easy steps
1. Spread thinset install tile
2. Screw spindle into spacing plate, Slide spindle with spacing plate attached in between two tiles.
3. Tighten spindle clock wise firmly until all four corners are aligned flush.
* Remove Re-usable spindle once tile adhesive is dry.